
How to Change Brake Pads Step-by-Step (DIY Brake Guide)
Table of contents Key Takeaways Introduction and Overview Understanding the…
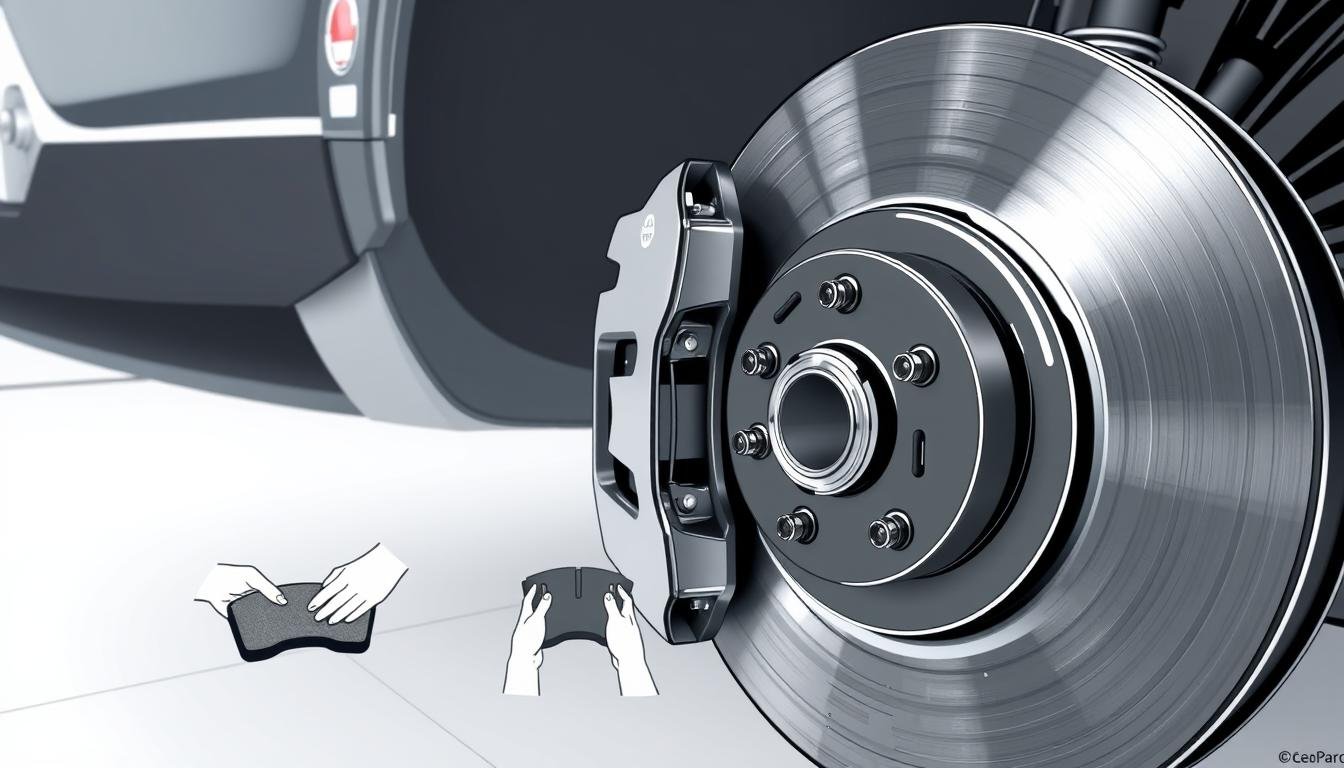
Maintaining your car’s stopping power doesn’t have to drain your wallet. Many drivers avoid basic maintenance tasks due to high service costs, but with the right knowledge, you can tackle these jobs confidently. For example, a 2016 Mazda 3 owner faced a $477 dealership quote for new friction components—yet completed the same work at home for under $200 using standard tools.
Automotive experts, including former General Motors technicians, confirm that routine care like this is well within reach for most car owners. Learning to manage these repairs yourself cuts costs dramatically while teaching valuable skills. Service centers often charge hefty markups for labor, making self-service a smart financial choice.
This walkthrough prioritizes safety and clarity. You’ll discover how to identify worn components, prepare your workspace, and execute the job efficiently. Whether you drive a sedan or pickup, understanding these fundamentals helps extend your vehicle’s lifespan and performance.
Key Takeaways
- Completing this repair yourself can save over 50% compared to dealership pricing
- Basic hand tools and a few hours are all you need for most vehicles
- Proper preparation ensures safe, effective results
- Regular inspections prevent costly damage to rotors and calipers
- Clear indicators like squealing noises signal when action is needed
- Mastering this task builds confidence for future maintenance projects
Introduction and Overview
Your car’s ability to stop safely depends on components working in harmony. At the heart of this system are friction materials that handle intense heat and pressure during every stop. Recognizing their condition and function could mean the difference between predictable braking and unexpected risks.
Understanding the Importance of Brake Maintenance
These components transform motion into heat through controlled friction. Each time you press the pedal, they clamp onto spinning discs to slow your wheels. Without proper care, this process wears materials unevenly and reduces stopping efficiency.
Regular checks help catch issues early. Mechanics recommend measuring thickness every 6 months. Materials thinner than a quarter inch risk damaging other parts and extending stopping distances.
When and Why to Replace Brake Pads
Watch for these critical warning signs:
- Persistent noises: High-pitched squeals or grinding sounds during stops
- Extended stopping: Pedal feels soft or requires more pressure
- Steering vibration: Shaking through the wheel when slowing down
Most drivers need new friction materials every 30,000–50,000 miles. Heavy city driving or frequent towing accelerates wear. Check your owner’s manual for model-specific guidance.
Tools and Preparation for DIY Brake Pad Replacement
Proper preparation separates successful home mechanics from frustrated amateurs. Having the correct gear and organized workspace transforms complex jobs into manageable tasks. Start by clearing a flat work area and reviewing your vehicle’s specifications.
Essential Tools and Equipment
Every effective repair begins with quality implements. A socket wrench set matching your car’s bolt sizes (metric or standard) handles most fasteners. Keep open-end wrenches nearby for stubborn slide pins, and use a C-clamp or piston tool to reset calipers.
Specialized items prevent headaches later. Thread locker keeps bolts secure, while S-hooks safely suspend calipers during work. Always have brake cleaner and quiet paste ready for noise-free operation.
Safety Precautions and Preparation Tips
Stability prevents accidents. Pair your jack with jack stands rated for your vehicle’s weight. Position wheel chocks against tires still touching the ground. A proper lug wrench ensures effortless wheel removal.
Protect yourself with nitrile gloves and safety glasses. Check your master cylinder fluid level before compressing pistons – a turkey baster helps remove excess liquid. Lay out all parts and tools beforehand to avoid mid-job scrambles.
diy brake pad replacement: A Step-by-Step Process
Taking control of your vehicle’s maintenance starts with mastering fundamental repair techniques. This hands-on approach ensures optimal performance while building mechanical confidence. Follow these systematic stages to refresh your car’s critical components efficiently.
Removing the Wheel and Caliper
Start by loosening lug nuts while the car sits on level ground. Jack up the vehicle and secure it with rated jack stands. Remove the wheel completely to expose the hub assembly.
Turn the steering wheel fully toward your workspace for better access. Unbolt the two inner caliper bolts using a socket wrench. Suspend the freed component with an S-hook to protect the fluid line.
Replacing Worn Friction Components
Extract the mounting bracket by removing its two large bolts – a breaker bar helps overcome rusted connections. Strike the rotor’s edge with a mallet to break corrosion bonds. Clean the hub surface thoroughly before fitting new components.
Note the orientation of old brake pads before removal. Handle new brake pads by their edges using gloves. Apply noise-reduction paste only to metal backing plates.
| Stage | Essential Tools | Pro Tip |
|---|---|---|
| Wheel Removal | Lug wrench, jack stands | Mark wheel position for reinstallation |
| Caliper Access | Socket set, S-hook | Photograph bolt locations |
| Rotor Replacement | Wire brush, brake cleaner | Check hub runout |
Resetting the Hydraulic Mechanism
Compress the caliper piston slowly using a C-clamp. Protect the piston surface with an old brake pad during this process. Ensure the reservoir doesn’t overflow when pushing the piston inward.
Reassemble components in reverse order, tightening bolts to manufacturer specifications. Test the system gently before regular driving. Proper execution at each step guarantees smooth operation.
Inspection and Maintenance of Brake Components
Proactive care keeps your vehicle’s braking system reliable and responsive. Regular evaluations help spot minor issues before they escalate into expensive repairs. Let’s explore critical checks that ensure optimal performance and safety.
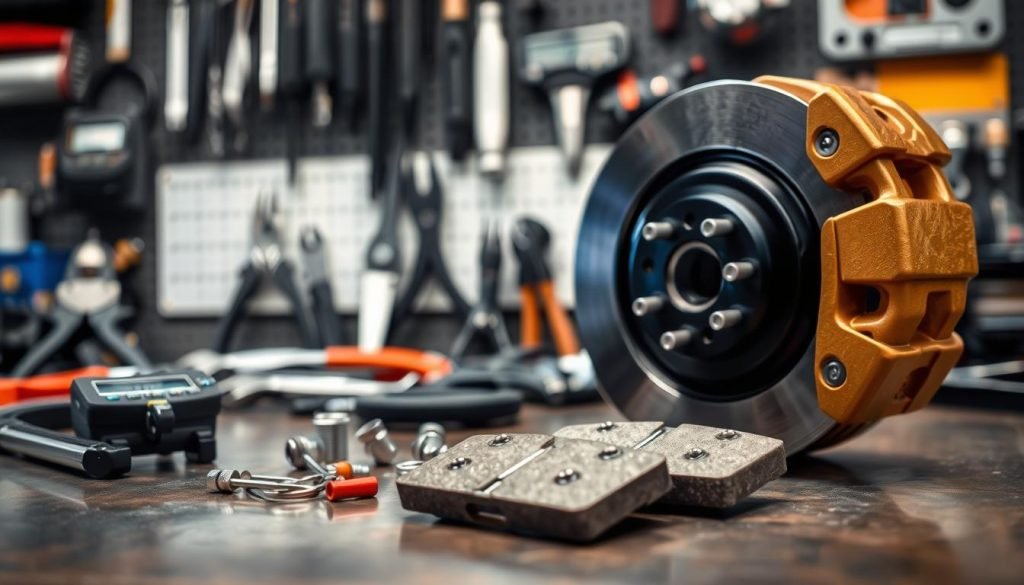
How to Check Brake Pads and Rotors
Inspect friction materials every 6 months or 5,000 miles. Look for uneven surfaces or deep grooves on both sides. Worn pads often leave metal shavings near the wheel hub.
Measure rotor thickness with a micrometer. Compare results to your vehicle’s minimum specifications. Discs thinner than 10mm typically require replacement.
Check for heat discoloration or cracks on braking surfaces. Warped rotors cause steering wheel vibrations during stops. Resurfacing works for minor damage, but severe wear demands new components.
Maintaining Brake Fluid and Caliper Function
Monitor fluid levels monthly. A sudden drop indicates potential leaks in hoses or connections. Use DOT-rated fluid matching your owner’s manual requirements.
Compress caliper pistons carefully during maintenance. Front systems usually need basic tools, while rear mechanisms may require twist-type compressors for integrated parking brakes.
| Component | Inspection Method | Critical Spec |
|---|---|---|
| Friction Materials | Visual wear check | 3mm minimum thickness |
| Rotors | Micrometer measurement | 22-24mm standard |
| Hydraulic Fluid | Dipstick test | Between MIN/MAX lines |
| Caliper Slides | Lubrication check | Smooth movement |
Examine rubber brake lines for cracks or bulges. Stiff or swollen hoses restrict fluid flow, reducing stopping power. Replace any damaged lines immediately.
Extra Safety Tips and Best Practices
Safety remains paramount when working with critical vehicle systems. Even minor oversights during installation can compromise performance or create hazards. These guidelines help ensure your work meets professional standards while protecting you and your passengers.
Avoiding Common Pitfalls During Installation
Secure all bolts with thread locker to prevent loosening from vibrations. Blue varieties allow future adjustments, while red formulas create permanent bonds. Apply noise-reduction paste only to metal backing plates – contamination on friction surfaces reduces stopping power.
When reattaching the caliper, use two wrenches to stabilize guide pins during tightening. This prevents stripped threads and ensures proper alignment. Always hand-tighten lug nuts before lowering the vehicle to avoid cross-threading.
| Safety Check | Solution | Benefit |
|---|---|---|
| Loose fasteners | Apply thread locker | Prevents component separation |
| Squealing noises | Use disc quiet paste | Ensures silent operation |
| Spinning guide pins | Double-wrench technique | Maintains torque accuracy |
| Uneven wheel mounting | Star-pattern tightening | Distributes stress evenly |
| Performance issues | Bed-in procedure | Optimizes friction surfaces |
Pump the pedal repeatedly before driving to reset the hydraulic system. New components require a 30-mile break-in period with gradual stops. Replace worn dust boots and bushings to maintain smooth caliper movement.
Conduct final inspections under proper lighting. Verify fluid levels and test drive in empty areas first. These steps transform rushed jobs into professional-grade repairs that last.
Conclusion
Taking charge of your vehicle’s maintenance unlocks both financial freedom and mechanical confidence. By learning to change brake pads yourself, you bypass expensive service fees while gaining hands-on repair skills. Most jobs require only basic tools like a socket set and jack stand, transforming what seems complex into manageable weekend work.
Regular checks help spot wear before it damages other parts. Pair this knowledge with periodic brake fluid inspections for complete system care. The process outlined in this step guide ensures safe, effective results when you replace brake pads – no prior expertise needed.
Remember: Proper preparation prevents rushed mistakes. Allocate enough time, organize your workspace, and follow each step methodically. Thousands of drivers successfully complete this task annually, proving that with patience and attention to detail, you can maintain peak stopping performance without professional help.
Your vehicle deserves quality care that fits your budget. Whether refreshing pads rotors or handling other maintenance, every project builds valuable automotive knowledge. Start small, stay safe, and watch your repair confidence grow with each successful job.
FAQ
How often should I replace my brake pads?
Most vehicles require new pads every 30,000–70,000 miles, but driving habits and conditions affect this. Check for signs like squealing noises, reduced responsiveness, or a dashboard warning light.
Can I replace brake pads without changing rotors?
Yes, if rotors are within thickness specifications and show no grooves, warping, or cracks. Always measure rotor thickness and inspect surfaces before reusing them.
What tools are essential for replacing pads at home?
You’ll need a lug wrench, jack stands, C-clamp or piston tool, socket set, and gloves. Brands like Craftsman or Tekton offer reliable kits. Never skip safety gear like eye protection.
Why is retracting the caliper piston necessary?
The piston adjusts to accommodate thicker new pads. Use a C-clamp or specialized tool to compress it gently. For electronic parking brakes, consult your vehicle’s manual first.
How do I check for uneven rotor wear?
Look for visible grooves, discoloration, or ridges. Measure thickness with a micrometer at multiple points. Variations over 0.001–0.002 inches often mean resurfacing or replacement is needed.
Should I bleed brakes after installing new pads?
Bleeding isn’t required unless air enters the system. However, inspect fluid levels and top off with DOT 3 or DOT 4 fluid. Dark or contaminated fluid warrants a full flush.
What’s the biggest mistake to avoid during installation?
Forgetting to lubricate caliper slide pins or pad contact points can cause uneven wear and noise. Use high-temperature grease, but keep it away from friction surfaces.
When should I seek professional help instead of DIY?
If you notice leaks, a spongy pedal, or persistent grinding after replacement, consult a mechanic. Issues like seized calipers or ABS errors often require advanced tools.