
Revive Your Car’s Appearance with These DIY Paint Correction Tools
Table of contents Key Takeaways Introduction to Car Paint Correction…
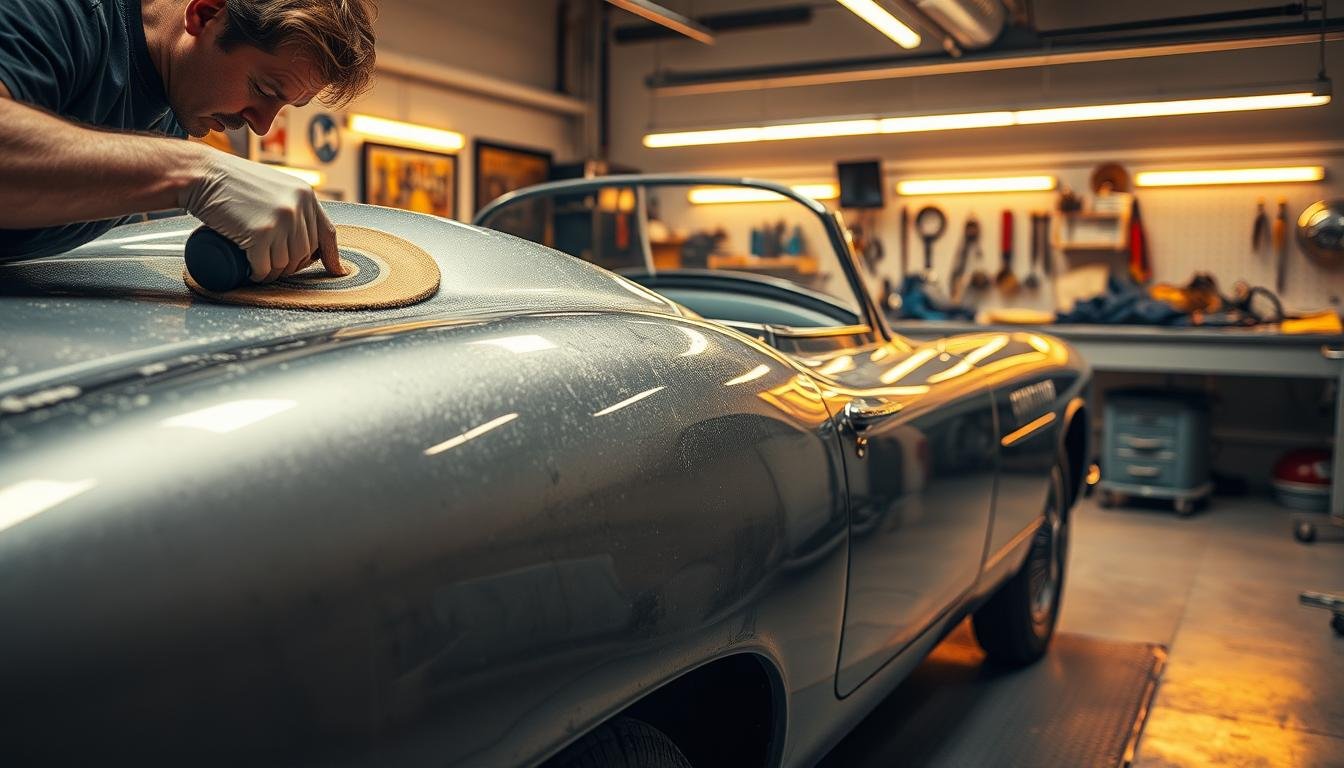
Every vehicle owner dreams of that showroom shine – the kind that turns heads on the road. What many don’t realize is that restoring your car’s glossy finish doesn’t require expensive professional services. With the right approach, you can bring back that deep, mirror-like reflection right in your garage.
Professional detailing often costs between $300-$1,500, but a one-time investment in quality supplies ($100-$300) lets you achieve similar results multiple times. The secret lies in understanding surface imperfections and using specialized methods to address them. Proper preparation accounts for 50% of success, whether you’re dealing with light swirl marks or deeper scratches.
This guide walks through every stage of the process, from choosing equipment to advanced finishing methods. You’ll discover how to safely remove defects without compromising your vehicle’s protective clear coat. More importantly, you’ll gain skills that maintain your car’s brilliance for years.
Beyond saving money, mastering these techniques gives you control over your vehicle’s aesthetics. Imagine transforming faded panels into glass-like surfaces or erasing years of wear in an afternoon. That transformation starts here.
Key Takeaways
- Professional-grade results achievable at home for a fraction of salon costs
- Initial supply investment pays for itself after 1-2 uses
- Surface preparation determines 50% of final outcome quality
- Safe defect removal preserves factory clear coat integrity
- Mastered skills provide long-term maintenance advantages
Introduction to Car Paint Correction
Your vehicle’s exterior tells a story – one that impacts both its beauty and value. Over time, environmental factors and daily wear create imperfections that dull its appearance. Addressing these issues early prevents long-term damage and keeps your investment looking its best.
Why Paint Correction Matters for Your Vehicle
A well-maintained finish can increase resale value by up to 10%, according to automotive industry studies. Surface defects like swirl marks and oxidation act like tiny mirrors scattering light, making colors look muted. Left untreated, these flaws deepen and require costly repairs.
Regular maintenance preserves the clear coat, your car’s primary defense against UV rays and road contaminants. Modern vehicles have thinner protective layers than older models, making proactive care essential. Proper techniques remove only 2-3 microns of clear coat – less than a human hair’s width – while eliminating years of damage.
Signs Your Car’s Paint Needs Attention
Sunlight reveals the truth about your vehicle’s condition. Spider-web patterns under bright light signal improper washing methods. Water spots that resist normal cleaning? Those mineral deposits have likely etched into the surface.
Other red flags include:
- A chalky texture from UV exposure
- Faded areas where wax protection failed
- Fine lines around door handles or trunk edges
These issues worsen over time, but early intervention restores depth and clarity. The right approach transforms lackluster surfaces into reflective masterpieces worthy of any showroom floor.
Essential Tools and Products for a DIY Job
Quality outcomes begin with proper gear selection. While numerous products flood the market, strategic choices maximize efficiency and minimize frustration. Let’s explore the equipment that delivers professional results without professional markups.
Must-Have Equipment and Materials
The dual-action polisher stands as your primary workhorse. Models like the Torq 15DA ($269.99) offer orbital rotation that prevents heat damage – crucial for beginners. Pair it with medium-grade clay bars ($12.99) for removing bonded contaminants that washing misses.
Professional-grade microfiber towels prove indispensable. Unlike bargain alternatives, these prevent swirls during compound removal. Combine with multiple foam pads: orange for heavy cutting, white for refinement. “The right pad-compound combination acts like a surgical team,” notes automotive detailer Mark Sullivan.
Overview of Recommended Compounds and Pads
Adaptive abrasives like Insynchro Precision Cut ($24.99) tackle deep scratches while preserving clear coats. Follow with their Supreme Finish Polish to achieve reflective depth. Pad conditioners extend tool life by preventing premature wear.
| Pad Type | Purpose | Price Range |
|---|---|---|
| Orange Cutting | Deep defect removal | $9.99-$14.99 |
| White Polishing | Surface refinement | $8.99-$12.99 |
| Black Finishing | Ultimate gloss enhancement | $10.99-$15.99 |
Complete kits often provide 30% savings versus individual purchases. Watch for seasonal sales – premium bundles frequently drop below $200, offering everything from compounds to ergonomic carts.
paint correction tools DIY: Step-by-Step Process
Achieving professional-level results at home starts with methodical preparation. The difference between amateur attempts and showroom-quality outcomes lies in precise execution of each phase. Proper setup minimizes errors and maximizes efficiency throughout the restoration journey.
Preparing Your Car and Work Area
Begin with a two-bucket wash using pH-balanced soap. Start at the roof and work downward to avoid scratching panels with loose debris. Dry thoroughly with plush microfiber towels – residual water hides contaminants that could mar surfaces during polishing.
Next, glide a medium-grade clay bar across lubricated sections. This critical step extracts embedded particles regular washing misses. “If your towel catches on the surface, that’s your signal to clay,” advises detailing expert Lisa Tanaka. Protect trim pieces and emblems with painter’s tape to prevent compound staining.
Applying Cutting Compound with a Dual-Action Polisher
Secure an orange cutting pad to your polisher and add five pea-sized compound drops. Condition the pad lightly to prevent overheating. Spread the product at 800 RPM before increasing speed to 2800 RPM in overlapping passes.
Work in 2×2-foot sections using horizontal then vertical motions. Watch for the compound turning translucent – this signals complete breakdown. Wipe residues immediately with a clean microfiber. Repeat across all panels, checking progress under bright light after each pass.
Mastering Technique for a Flawless Finish
Precision separates good results from jaw-dropping transformations. While equipment matters, your hands control the final outcome. Let’s explore methods that turn mechanical motions into artistry.
Proper Pressure and Motion Tips
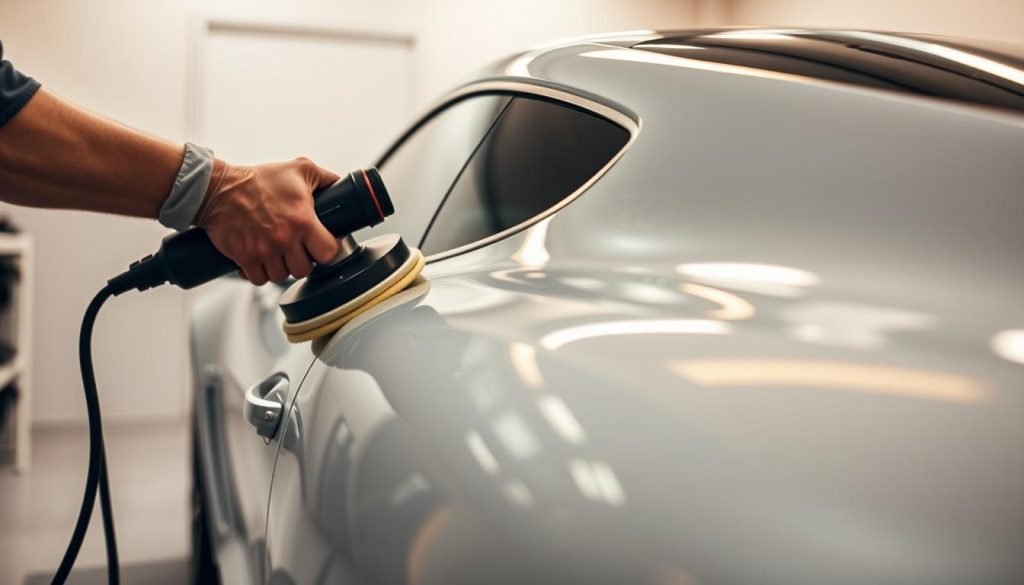
Let the machine do the work – this mantra prevents costly errors. Apply only 5-7 pounds of pressure during compounding, enough to keep the pad flat. For polishing, reduce to 2-3 pounds. Imagine guiding a helium balloon rather than forcing it downward.
Use overlapping crosshatch patterns to eliminate buffer trails. Start with horizontal passes, then vertical. Detailer Jenna Ruiz advises: “Your last pass should always move toward visible edges – it hides any remaining micro-scratches.”
Transitioning from Compound to Polish
Switch pads immediately after compounding. Residual abrasive particles in white polishing pads create new swirls. Wipe surfaces twice: first with a damp towel, then a dry one. This two-step process removes 98% of leftover debris.
Apply Insynchro Supreme Finish Polish in dime-sized amounts. Work each section until the formula turns completely clear – this indicates proper breakdown. Under-working leaves hazing; over-working risks pad disintegration.
Using Microfiber Towels for a Streak-Free Result
Premium 500gsm towels outperform cheaper alternatives. Fold them into quarters for eight clean surfaces. Wipe in straight lines using the towel’s weight – no scrubbing. Rotate frequently to prevent reintroducing removed contaminants.
Check reflections under LED lights at multiple angles. If streaks persist, mist the surface with quick detailer and wipe again. Proper technique leaves surfaces mirror-smooth without chemical residues.
Advanced Tips for Long-Lasting Car Paint
Preserving your vehicle’s renewed brilliance demands strategic maintenance. The work doesn’t end when swirl marks disappear – proper aftercare ensures your efforts withstand environmental challenges and daily wear.
Decontamination Best Practices
Thorough cleaning prevents contaminants from undermining your hard work. After claying, use iron-removing sprays to dissolve metallic particles from brake dust. Tar removers eliminate road grime without harsh scrubbing. “Always work from top to bottom,” recommends detailing specialist Amy Walsh. “This prevents cleaned areas from getting recontaminated.”
For stubborn deposits, employ the bag test: slide a plastic bag over your hand. If the surface feels gritty, repeat decontamination steps. Finalize with isopropyl alcohol wipedown to ensure perfect bonding for protective coatings.
Protecting Your Finish with Wax or Sealant
Synthetic sealants outlast traditional waxes, offering 6-12 months of defense against UV rays and acid rain. Natural carnauba wax enhances depth for shows but requires monthly renewal. Consider your climate:
| Protection Type | Durability | Best For |
|---|---|---|
| Ceramic Sealant | 12+ months | Harsh winters |
| Hybrid Wax | 4-6 months | Moderate climates |
| Paste Wax | 4-8 weeks | Show vehicles |
Apply products to cool surfaces using folded microfiber towels. Use straight-line motions to avoid swirls. Wait 12 hours before exposure to moisture – this curing period maximizes adhesion. Regular maintenance washes with pH-neutral soap preserve both shine and protective layers.
DIY Versus Professional Paint Correction
Your garage or a pro shop? Both paths lead to glossy finishes but differ in execution. Home restoration typically costs 70-80% less than professional services, with initial equipment investments paying off after just two uses. However, complex projects involving deep scratches or ceramic coatings often justify expert involvement.
Time commitment proves crucial. A full exterior refresh takes 8-12 hours for beginners versus 3-5 hours for detailers. Those valuing weekend flexibility might prefer hands-on work, while busy owners benefit from drop-off convenience. Certified technicians also carry insurance against rare mishaps – peace of mind worth considering.
Quality outcomes depend on skill level and material choices. Enthusiasts using premium compounds achieve near-professional clarity, though multi-stage corrections demand practice. For severe oxidation or delicate single-stage finishes, specialized tools and experience prevent irreversible damage.
Ultimately, your choice balances budget, time, and confidence. Regular maintenance favors home care, while show car preparation or resale preparation might warrant pro help. Whichever route you take, that head-turning shine remains within reach.
FAQ
Can I use regular car wax instead of a cutting compound?
No. Wax adds protection but doesn’t remove imperfections. A cutting compound is designed to level the clear coat, while polish refines the finish. Always follow compound application with polish for optimal results.
How do I know if my car needs paint correction?
Look for swirl marks, scratches, oxidation, or a dull finish. Run your hand over the surface—if it feels rough, contaminants like embedded dirt may require clay bar treatment before correction.
Is a dual-action polisher better than a rotary for beginners?
Yes. A dual-action polisher minimizes heat buildup and reduces the risk of burning the clear coat. Rotary tools require advanced skill, making them less ideal for DIYers.
Why do I need different types of pads?
A: Cutting pads (usually orange or yellow) remove deeper defects, while foam pads (black or white) refine the surface. Microfiber pads offer aggressive correction but require careful technique.
How often should I decontaminate my car’s paint?
Perform decontamination every 6–12 months or after exposure to industrial fallout, tree sap, or road tar. Use an iron remover and clay bar to eliminate embedded particles.
Can I skip masking trim and edges during correction?
Avoid skipping this step. Use masking tape to protect rubber trim, emblems, and edges. Polishing compounds can stain or damage unprotected areas.
How long does a DIY correction job take?
A full correction takes 8–12 hours for a sedan, depending on paint condition. Split the work into stages: decontamination, compounding, polishing, and applying sealant or wax.
Will paint correction remove deep scratches?
It depends. Light to moderate scratches often improve, but deep ones reaching the primer may require touch-up paint. Test a small area first with a polishing compound and cutting pad.
What’s the best way to avoid holograms or swirls?
Use clean pads, work in small sections, and apply even pressure. Finish with a finishing polish and soft foam pad. Wipe residues immediately with a microfiber towel.
Should I apply wax immediately after polishing?
Yes. Polishing strips away existing protection. Apply a ceramic coating, sealant, or wax within an hour to lock in gloss and shield against UV rays and contaminants.